Subscribe to our Newsletter!

Showing posts with label vintage maps. Show all posts

Wednesday, September 17, 2014

A Fall Mantel


Hey all!  This is week 3 of our blog tour and it continues with fall mantel and shelf decorations.  Jennifer of The Striped House began our week with her burlap, birch branches, and mercury glass...beautiful!  Yesterday, Lisa of Concord Cottage shared her easy, no sew banner that she added to her charming mantel along with candles, pumpkins, and beautiful empty frames...love that look.

Today, I'm sharing a faux mantel.  My real mantel is also home to a huge TV...not so lovely to decorate.  Here's a shot from my Fall 2012 post.  You can see that I have a tiny spot on each side of the TV to decorate.


The mantel I decorated for today is one I created from an old door.  I made it to be used in my work room.  My room is in the basement garage with no heat so when I purchased this adorable heater for my room, I knew I'd need a mantel for it someday.  That day is now thanks to hubby's help this past week.  :)


I added the shelf and crown on top and it fits perfectly in my tiny 10x10 room.  


The decor theme is pretty neutral, using a lot of natural pieces.


Inexpensive plastic pumpkins from the Dollar Tree that I painted, dried okra pods, preserved leaves, and an old gold frame from the thrift store


An old Colorado state map and a 1921 silver trophy, both found at a local thrift store.


Isn't this old trophy adorable?  From July 4, 1921, awarded for the 220 yard dash...love it!


An old brass lantern (originally wired for a lamp post) found at a church rummage sale for $5
By the way, church rummage sales are the BEST sales around...lots of great stuff at great prices!


The large candle is wrapped with a strip of burlap webbing and I wrote the word autumn with a black Sharpie.  The webbing is great to use on candles and if you use a tape on the back to secure it, you 'll be able to use both sides of the webbing!  The other side could say happy thanksgiving, boo, or whatever floats your boat ;)


More dried okra pods, preserved leaves, and dried hydrangea 


Curly branches cascade over the top


That's it!  I hope you're enjoying our Fall Mantels week on the blog tour.  Be sure to stop by 2 Bees in a Pod tomorrow!  I know Jennifer and Vicki will have something amazing for us.

Here's a pinnable pic for you (see Pin button at the top of sidebar).  I appreciate it!


By the way, this guy's outside my work room door awaiting his debut in next week's Outdoor Fall Decoration theme ;)

Thanks for stopping by and God bless!
Angie


I'm linking here:
THE STYLE SISTERS
JENNIFER RIZZO
HOME STORIES A TO Z
FROM MY FRONT PORCH TO YOURS
HAVE A DAILY CUP OF MRS. OLSON
COASTAL CHARM'S NIFTY THRIFTY TUESDAY
STONEGABLE
UNDER THE TABLE AND DREAMING

Sunday, March 30, 2014

The Curiosity Cabinet and a Gallery Wall

vintage silver, curiosities, starfish, pewter, handmade cabinet

I love old curiosities...don't you?  I'm not talking about freaky, weird things like they made the TV show about.  I mean everyday things, old books, old coins, starfish, rocks...things like that.

Years ago, my husband built this cabinet for me using an old window.  I love, love, love it.  It's simple but has always been one of my favorite pieces of furniture.

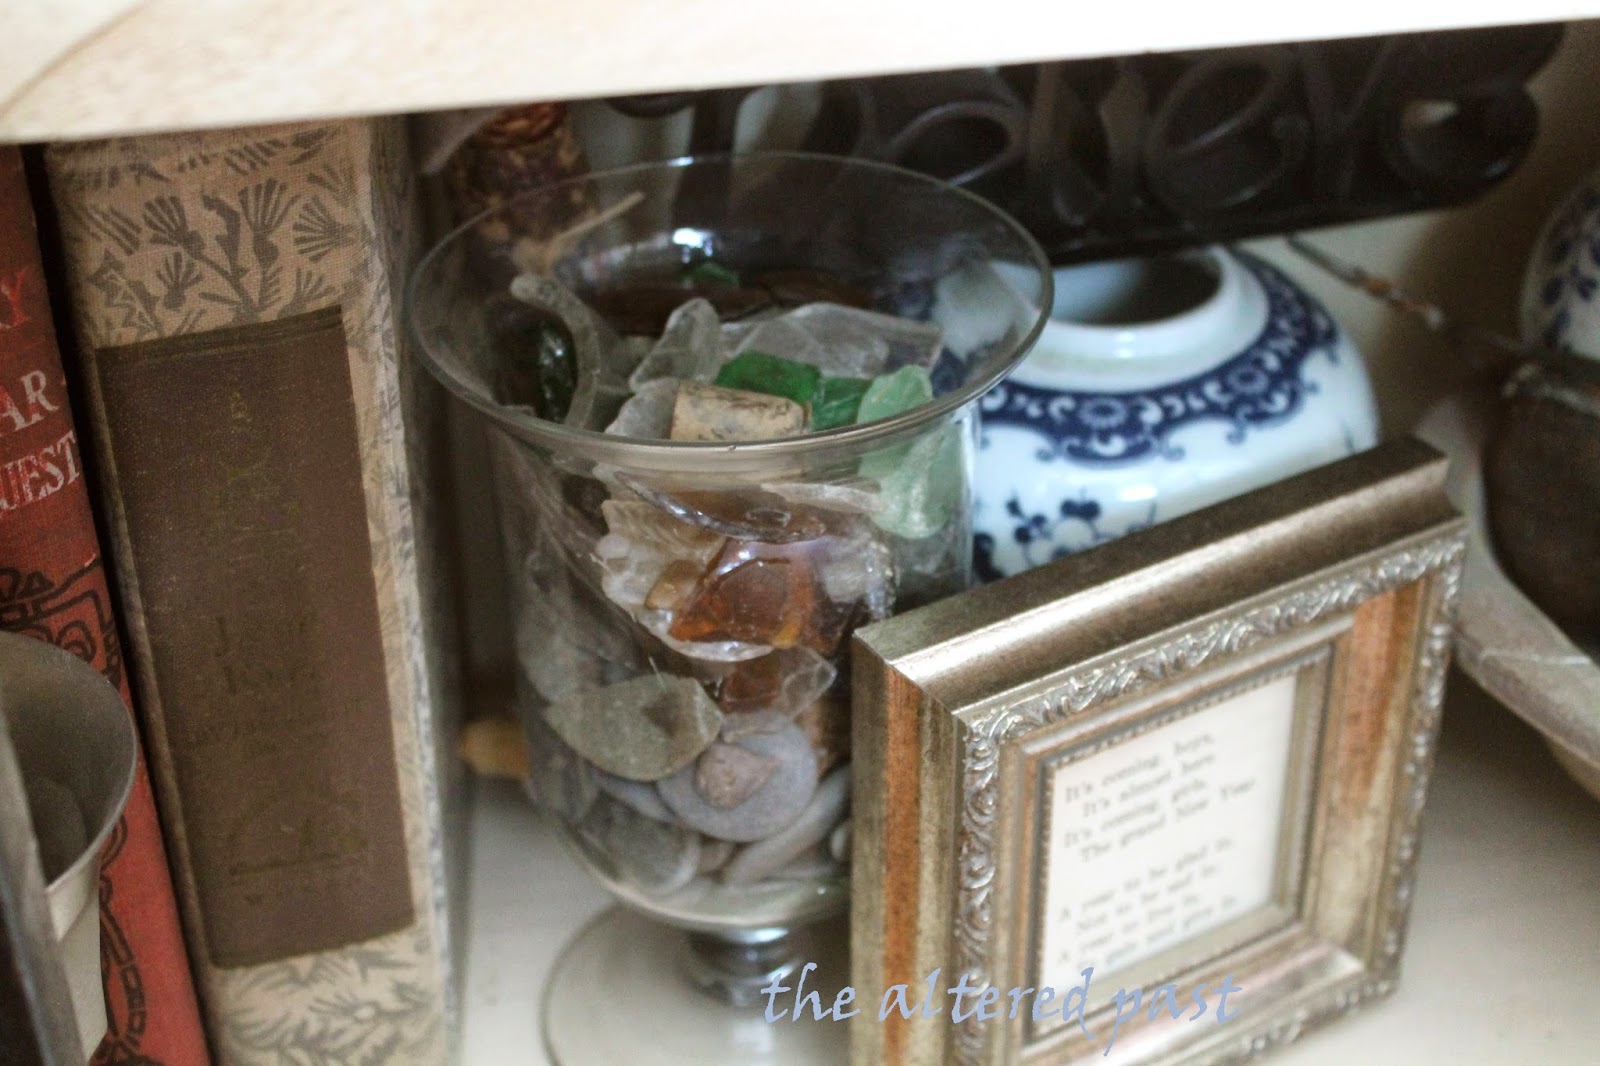
starfish, seashells, rocks


I began filling it with old books and I liked the way it looked.  They seemed to be meant for each other.  As time went one, I added other "old" pieces.  Tarnished silver.  An old brass ship.  Pewter goblets.  And I just kept filling.


The vase hold river rocks and river glass.  (I'm from the foothills of the Smokies and I love river rocks. 
These all came from the Little River in Townsend, Tennessee.)


The rock piece with a hole was found in the creek bed at the back of our property.
I believe it is part of an Indian artifact.  The other rocks have shell fossils.


It even spills out on to the top.  Old bottles found at my grandfather's farm.  Foreign coins.  Pennies flattened on the railroad tracks.  An old globe, minus the stand.


I left you hanging a while back when I posted about my gallery wall of vintage maps.  This is the wall above the cabinet of curiosities. You can see that post here.  I had most of the wall done except for the upper left corner.  I needed something for that spot.  Well, I did finish that wall finally.  I found the right size frame, painted it black, and added a vintage map of the State of Tennessee.  I think it fit perfectly.


Thanks for stopping by today and God bless!
Angie


I'm linking here:
THE STYLE SISTERS


STONEGABLE

UNDER THE TABLE AND DREAMING

Thursday, October 18, 2012

The Beginning of a Gallery Wall of Vintage Maps

Let me preface this post by saying these shots are raw...not staged and you may even spy some dust! But...here goes, keeping it real. I've been working on turning my dining room into a library, of sorts.  I want to create a space for my girls to use for school.  Being that they are now in 8th and 11th grade (AND a senior in college), I need something more than a playroom and still keep it usable for serving meals during the holidays.   The answer is a library with a large table.  The dining room has a cathedral ceiling so there's a lot of wall space to cover.  In the past, the largest wall has been blocked by my huge armoire used for a craft cabinet for my altered art supplies.


You can see it was massive and messy!  It looked so much smaller in the store.  Well, thanks to Craigslist and a young nurse needing "bulkier" furniture for her newly purchased, first home, it's gone.  It's being replaced by this...the beginnings of my gallery wall of vintage maps for the library.


The maps are from a 1930s National Geographic magazine.  Beautiful vintage colors and lettering!  I would have hesitated at cutting them in pieces except they were already ripping from being folded for so long.  The frames were all found at thrift stores and painted black.  I know there is a big void on the upper left side.  I'm still working on finding the perfect frame and bigger piece of map to fill the spot.   This is a work in progress.  I've also got plans for the two side chairs.  I would love to slipcover them in dropcloth or linen and paint the arms and legs.  It's on the ever increasing list.  : /


The large chalkboard was a yard sale find y-e-a-r-s ago.  It was painted bright yellow with hot pink cardboard covering the tin.  For $5, I brought it home and peeled the brittle cardboard out of the center and found that it was lined with 1950s newspaper pieces.  I finally made it to the bottom layer and revealed the tin backing.  I painted it with flat black.  I didn't know about DIY chalkboard paint back then.  It has hung in several places in our home since then and has served many purposes.

Well, this is the beginning of my gallery wall.  I'll keep you updated on the progress of my library.  For now, here's a sneak peek at the other wall.


I hope you're beginning to experience Fall where you are.  It's beautiful here in Tennessee.  Thanks for stopping by and God bless!

Angie


I link to these parties.  Be sure to check them out!